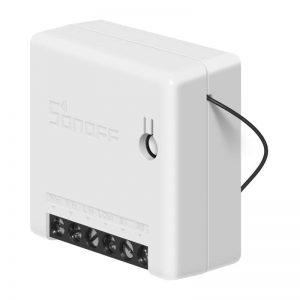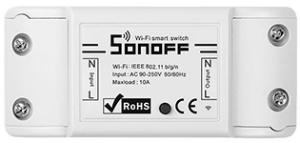
The Sonoff Basic has been a go to DIY solution for smart homes. It is easy to load with Tasmota firmware and doesn’t require any soldering. We will go Step by step on how to get the Tasmota firmware loaded on the Sonoff Basic. This should pertain to the R1/R2/R3 versions
Below is what you will need to get started.
NOTE: There is a danger of electrocution if not installed properly. If you don’t know how to install this device, please call an electrician. We don’t take any responsibility nor liability for using this software nor for the installation
Parts List:
Sonoff Basic
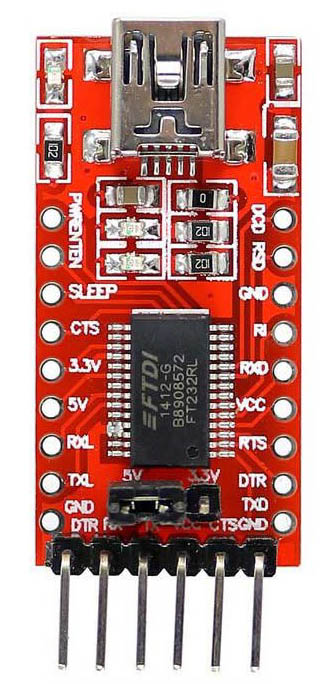
USB FTDI Adapter (for Flashing, Ensure to set jumper to 3v3 – NOT 5 volts)
Male to Female Headers Jumper Wires
Software Required:
Tasmotizer – Get from Github here
Step #1
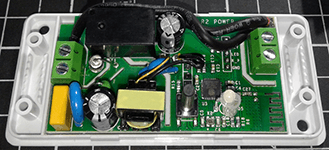
Remove the snap on cover.
Step #2
Connect the Male header jumper wires through the programming header on the switch PCB. Best to use 4 different colors to distinguish each connection as depicted in the image below. The R2 is labeled on the backside.. Verify before powering up FTDI.
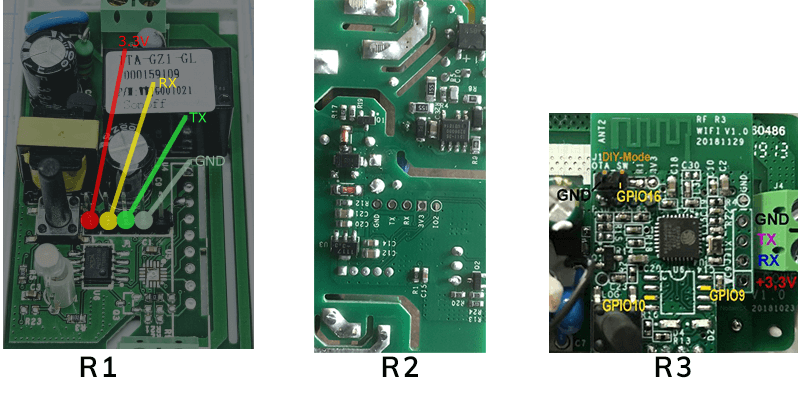
It is best to use some tape to the bottom of the switch to hold these on an angle. This will ensure a good connection.
Step #3
Connect the Female header jumper wires to the corresponding pins on the FTDI. Make sure the Sonoff Basic TX goes to the FTDI RX and the Sonoff Basic RX goes to the FTDI TX.
The 3v3 from the switch PCB goes to the VCC pin on the FTDI.
Step #4
Ensure everything connected and ensured that the Jumper is set jumper to 3v3 – NOT 5 volts. Hold down the button while plugging the USB from the FTDI to the PC.
Step #5
With Tasmotizer already installed. Open it up.
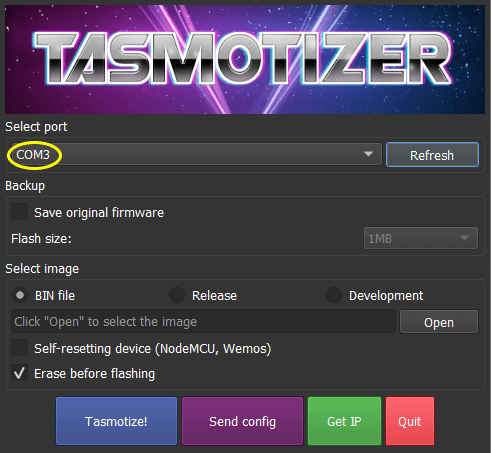
Ensure the FTDI com port is selected. If not Use the Refresh button or select from the drop down menu.
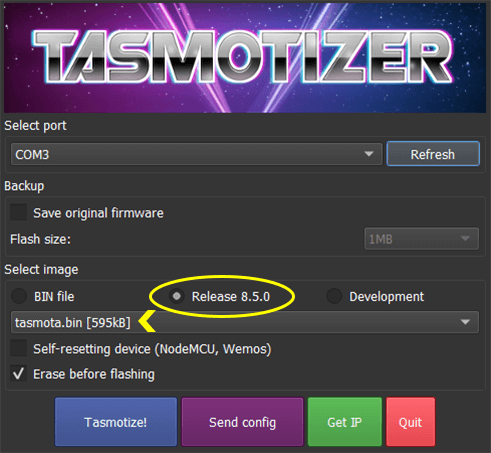
Step #6
Click on Release and ensure it has tasmota.bin selected.
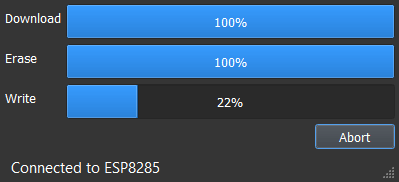
Step #7
Click on Tasmotize. It should start by downloading the firmware then erasing the flash followed by writing to the Flash.
Step #8
Once completed writing. Reboot the device by unplugging the USB from the PC. Wait 10 sec and plug it back in.
Step #9
Click on Send Config.
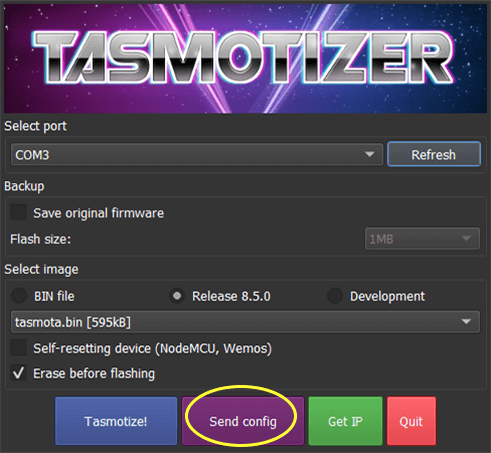
Fill out your WiFi credentials and if you have MQTT setup also fill in your MQTT details.
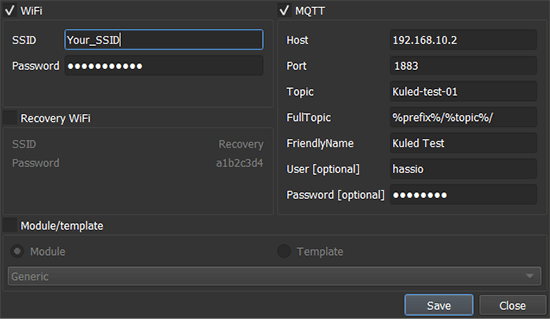
Click on save. It should then configure these details and reboot the Sonoff Basic.
Step #10
After the Switch reboots. Click on Get IP.
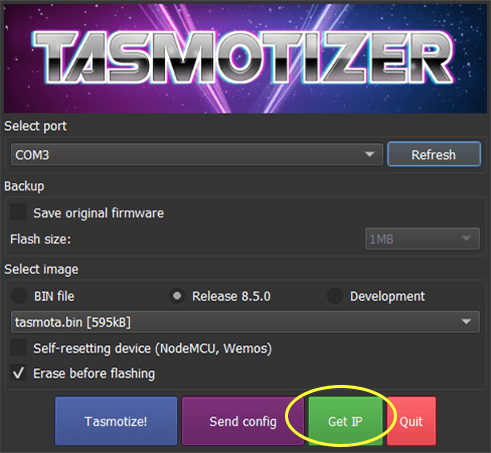
You should now have the IP of the Switch displayed and can proceed to it’s web page of the device. Flashing of the device is now complete.